Check Out My Zodiac XL Project!
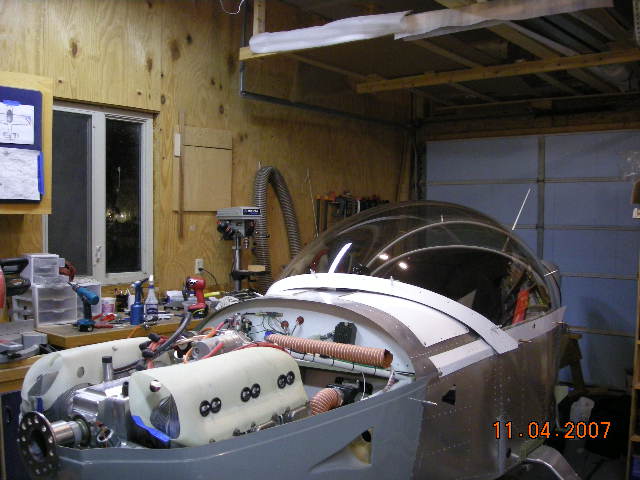
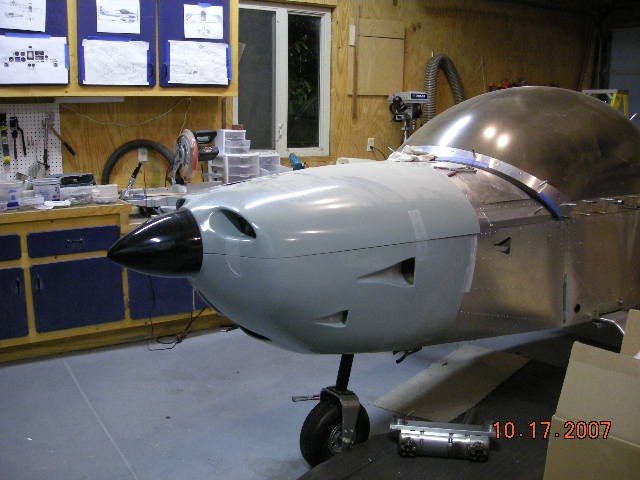
I’ll be documenting my Zenith aircraft assembly here. I’d like this page to function as an informational guide for any aircraft enthusiasts who are also considering assembling their own aircraft.
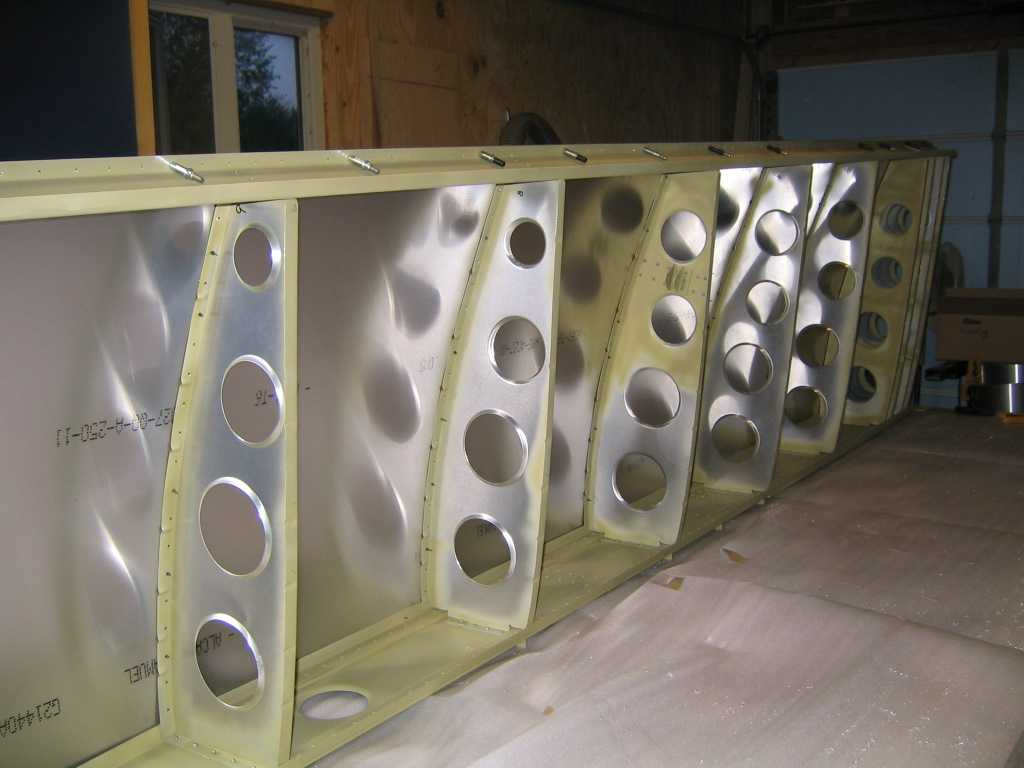
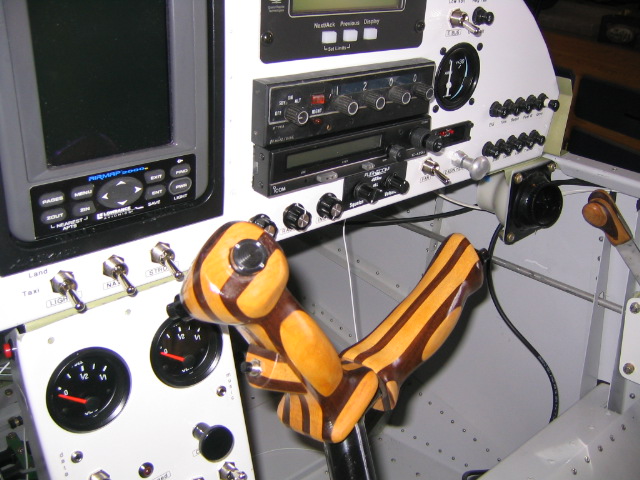
I’ll be putting together a Zenith Zodiac airplane 601XL, and I’ll update the page with progress information and pictures as I go along. There are quick build kits available that come with pre-assembled fuselages and some other pre-built things, but I decided to go part by part for this one, in order to save as much money as possible. If you have any questions, click here to see my info.
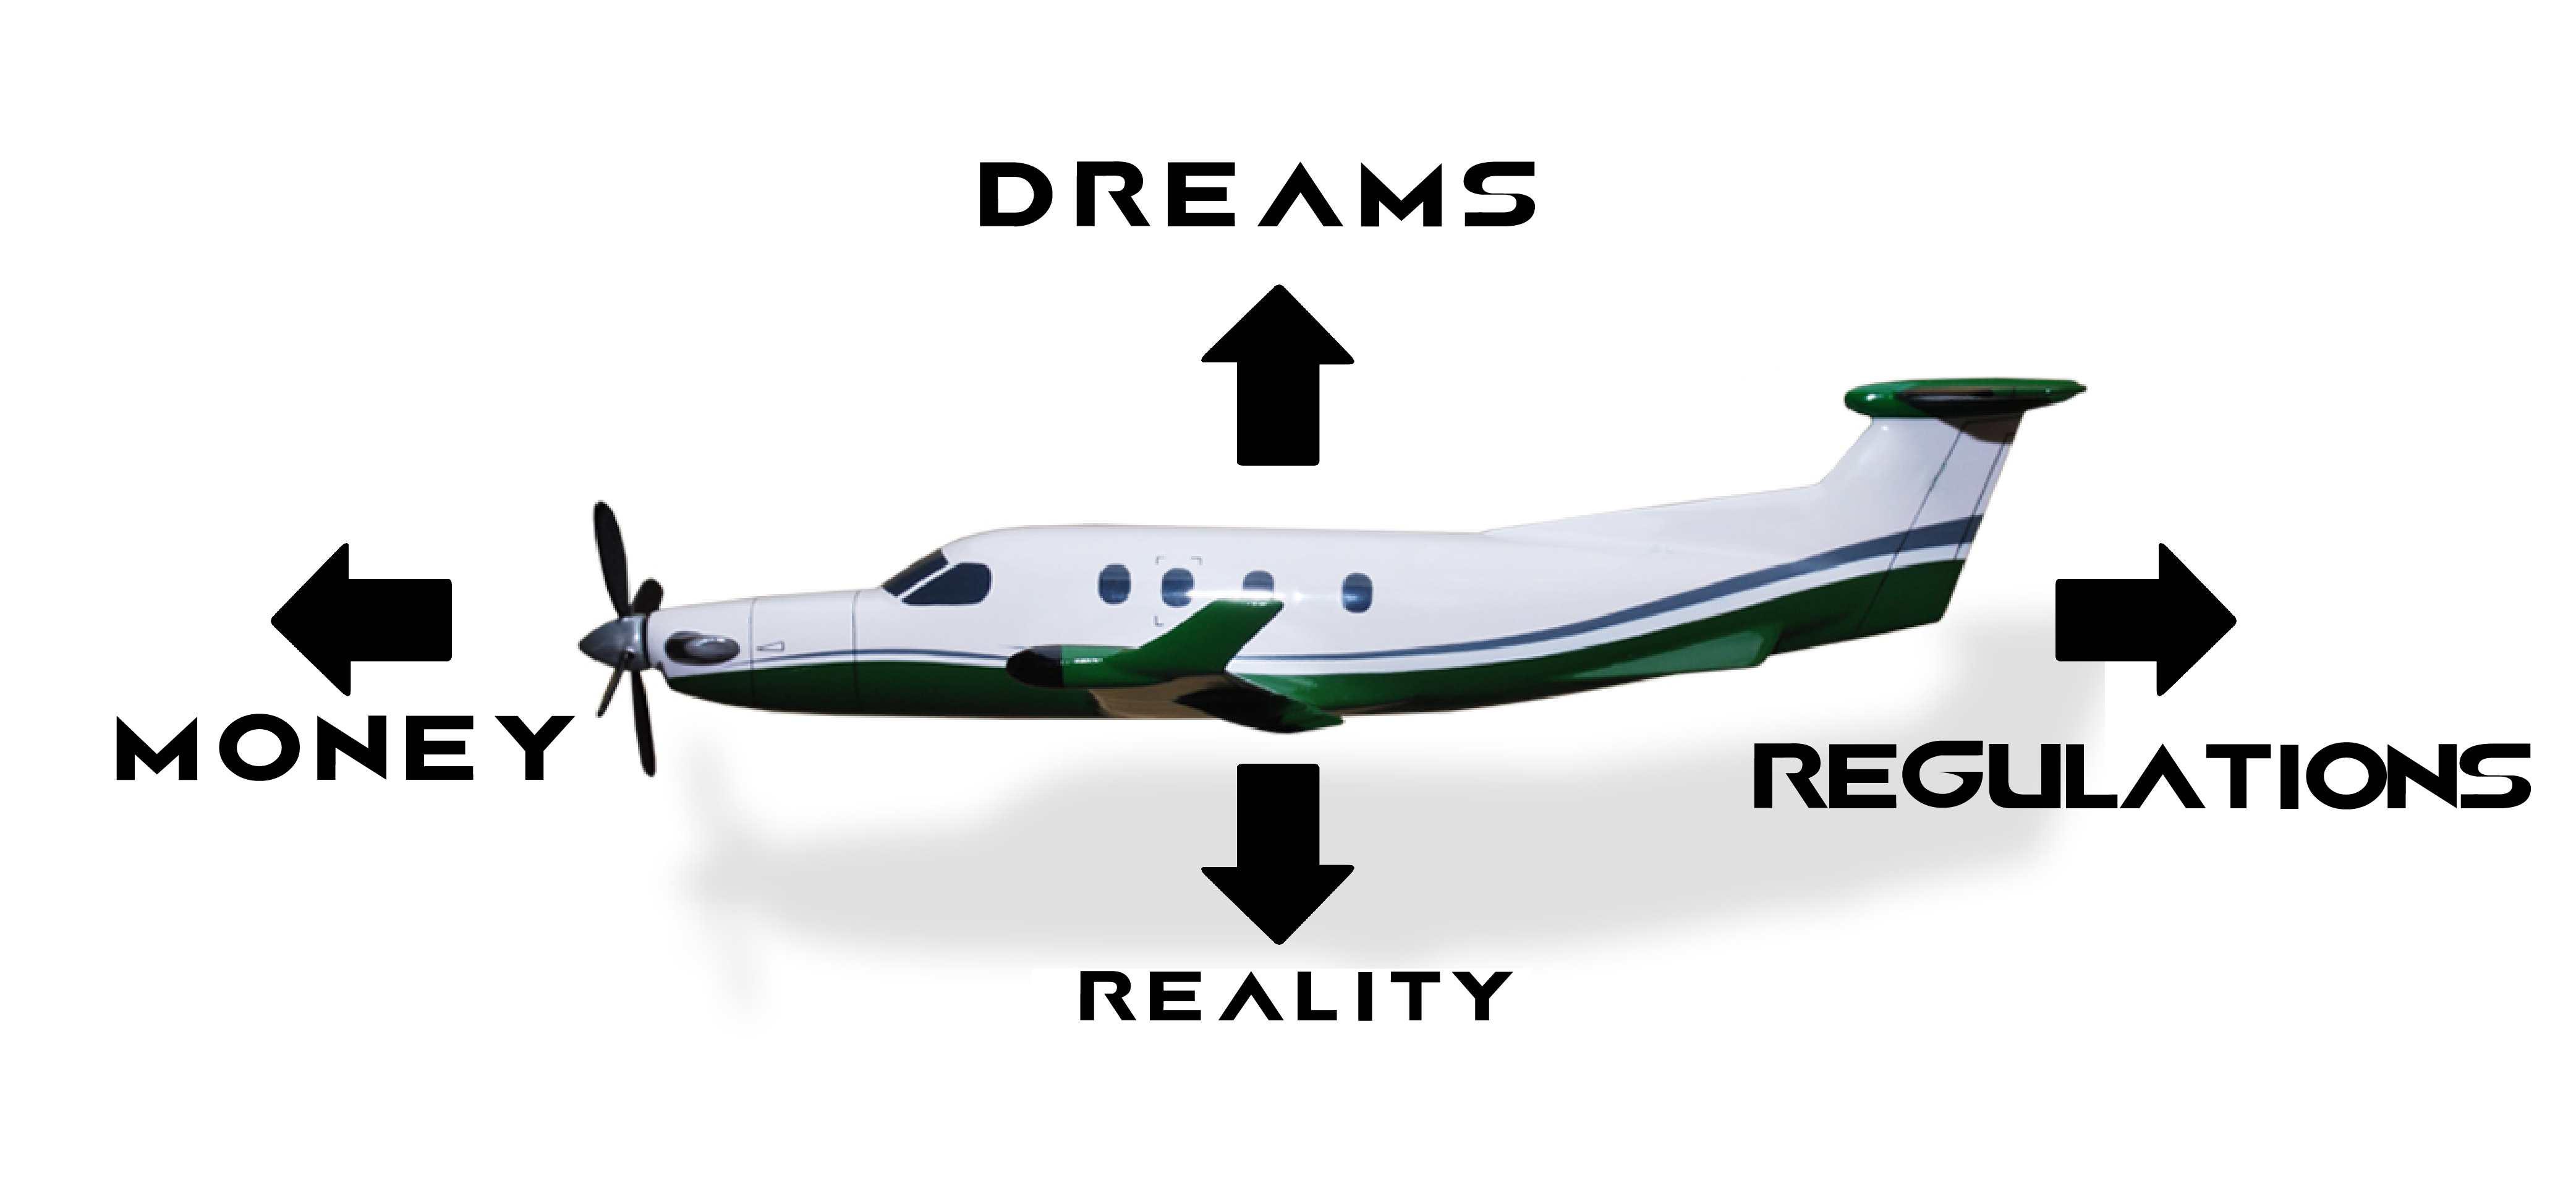
In order to achieve flight in life, one must follow their dreams and maintain financial stability financially. Regulations will prevent you hold you back, and money will allow you to push past them. Reality will attempt to ground your dreams, but you need that high pressure zones in order to lift yourself to the altitude of your dreams.
UPDATE: I did a lot of research on different aircraft part distributors in an attempt to find the most economical part solutions. I began by checking out the OEM Zenith parts straight from http://www.zenithair.com, but some of these new parts were cheaper elsewhere and new was the only condition they were offered in. I didn’t need every part to be new, so I began searching through different third-party part distributors like Aviation Sourcing Solutions, Avion Alloys, Kapco Global, Jet Parts Liquidator, New Century Components, and a few others. Among the distributors I found, a couple stuck out to me. When looking for parts across many different conditions (overhauled, new, serviceable, etc), Aviation Sourcing Solutions, Jet Parts Liquidator, and New Century Components provided me with the most economical part solutions.